Quick Start
Open Map Editor from Tools menu
![]()
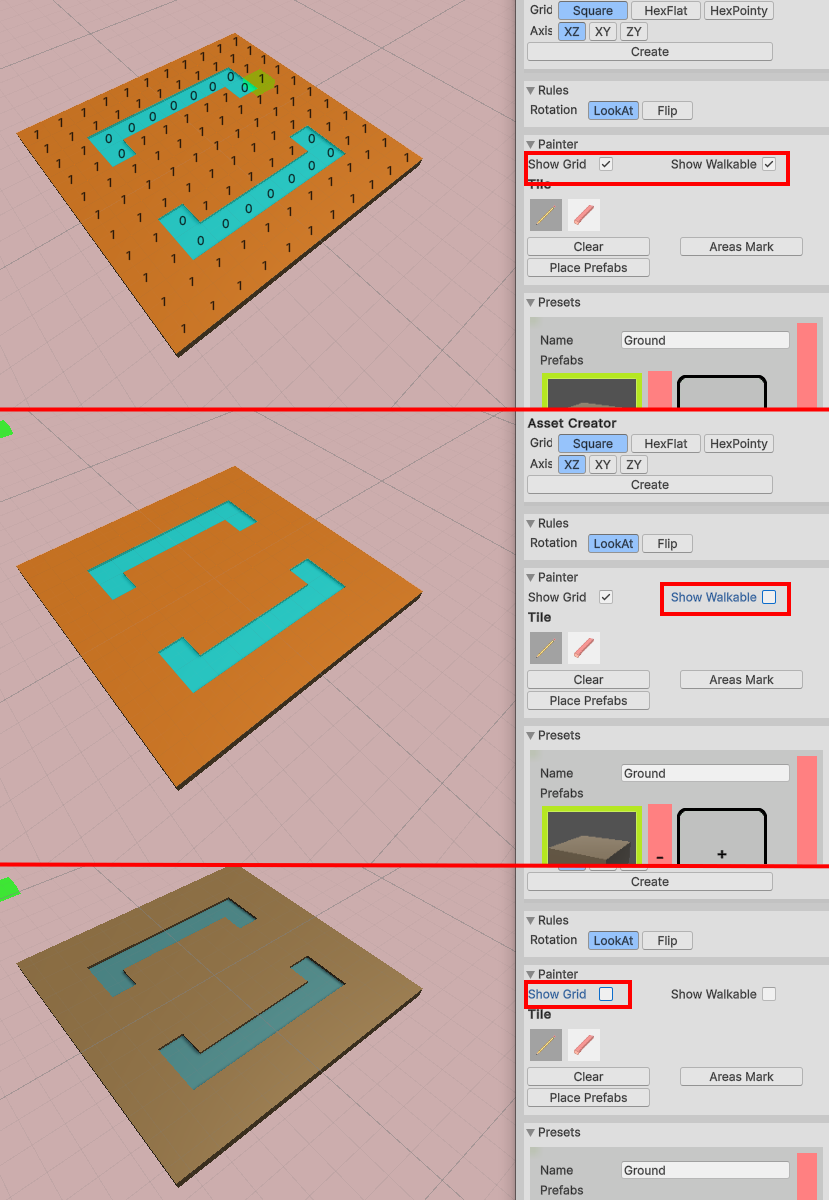
Define which grid type (Square or Hex) and axis type (XZ, XY, ZY) should be used and press Create

MapSettings asset will be created at the folder where active scene asset is located
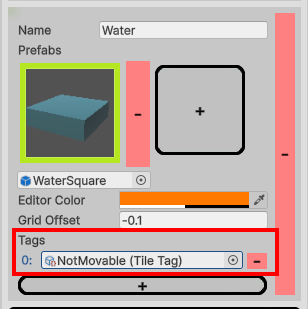
Add two (or at least one) tile presets by pressing green button with plus sign.
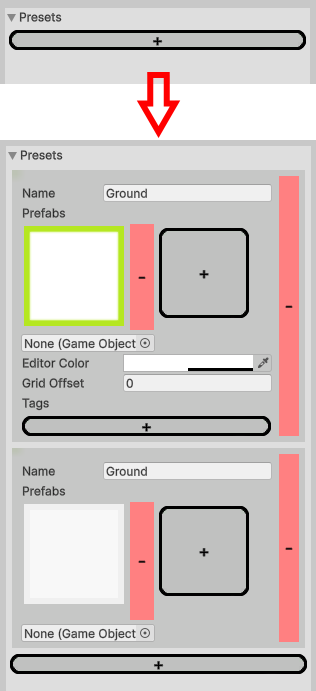
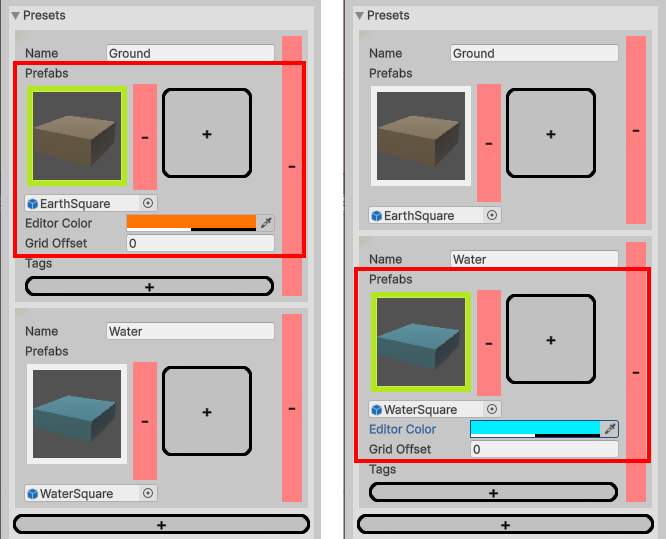
Assign Name, Editor Color and Prefab (more information in Prefabs section for all presets)
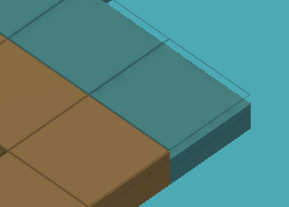
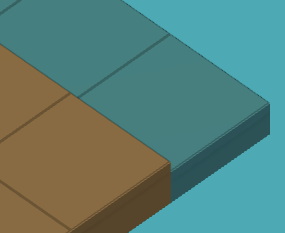
(Optional) Define approporiate Grid Offset.
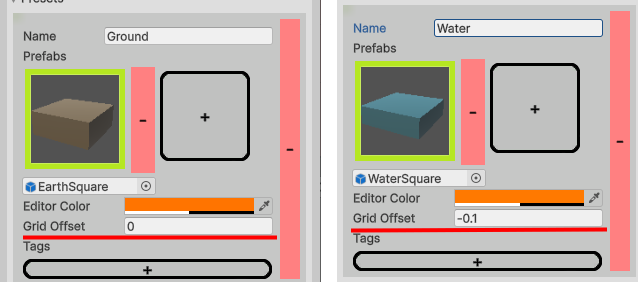
For example, our water tile prefab’s (WaterSquare) top surface is lower than zero on the Y-axis. So, setting offset to -0.1 will make it looks better. Compare Fig.1 and Fig.2
Choose which preset will be marked as NotMovable by adding tag with same name
Select brush tool
![]()
Paint your map at Scene view
Additionally (For quick test)
Add Unit (Unit prefab from Examples)
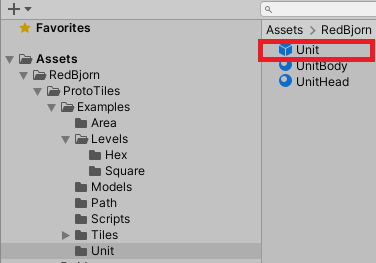
Add MapSettings link
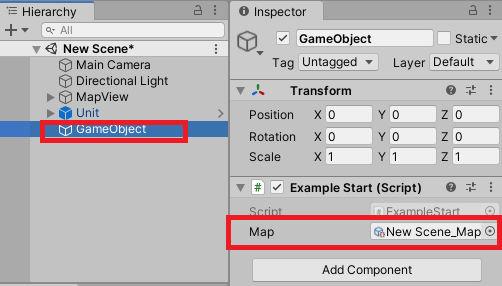
- Create new GameObject.
- Add Example Start component.
- Fill Map field with newly created asset
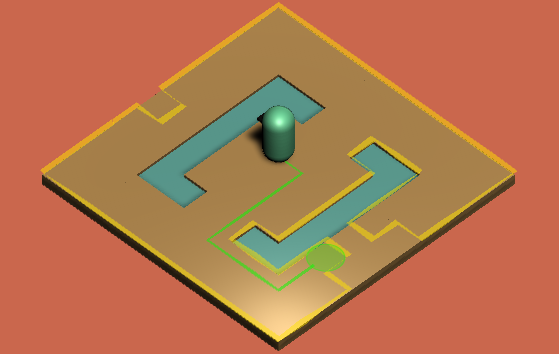
Click playmode.
Ta-dam! Congratulations, you have created your first map with walkable information. Move Unit by clicking left mouse button to test how does it work
Created with the Personal Edition of HelpNDoc: Streamline your documentation process with HelpNDoc's WinHelp HLP to CHM conversion feature